Maintaining and repairing laminate flooring is essential for preserving its appearance and functionality. Regular upkeep not only extends the life of your floors but also enhances the overall aesthetics of your space. Whether you’re dealing with minor scratches or significant water damage, addressing these issues promptly can prevent further deterioration.
In this article, you’ll find:
- Fixing Laminate Floor Scratches: Learn about common causes of scratches and a step-by-step guide to repair them.
- Repairing Laminate Flooring Water Damage: Understand the signs of water damage and how to restore your flooring.
- Addressing Lifting and Buckling Issues: Identify causes and solutions for lifted or buckled laminate flooring.
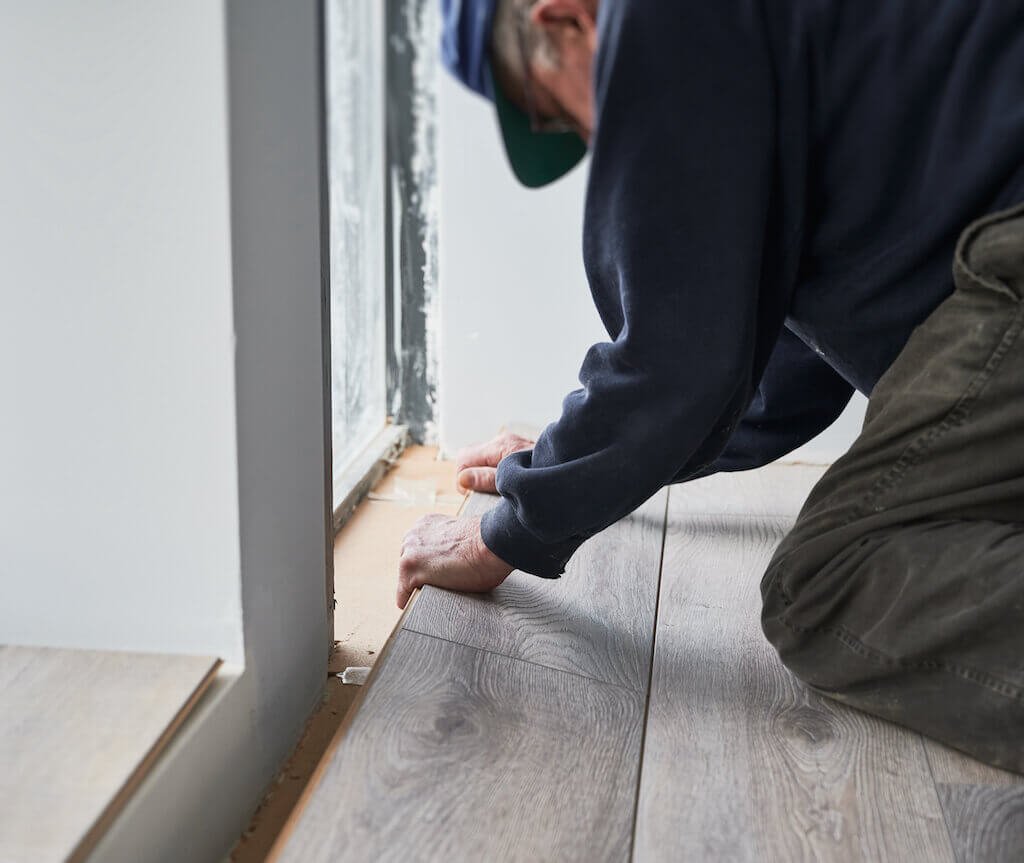
- Replacing Damaged Laminate Flooring Boards: A detailed process for removing and replacing damaged boards.
DIY floor repair offers several benefits:
- Cost Savings: Avoid costly professional services by handling repairs yourself.
- Satisfaction: Gain a sense of accomplishment from restoring your own space.
- Customisation: Ensure repairs are done to your exact preferences.
At East Sussex Flooring, we recognise that your flooring is a significant investment in both comfort and beauty. Our experienced team of professionals is dedicated to helping you maintain and repair your laminate flooring, ensuring it remains in top condition. Ready to transform your space? Let’s get started!
1. Fixing Laminate Floor Scratches
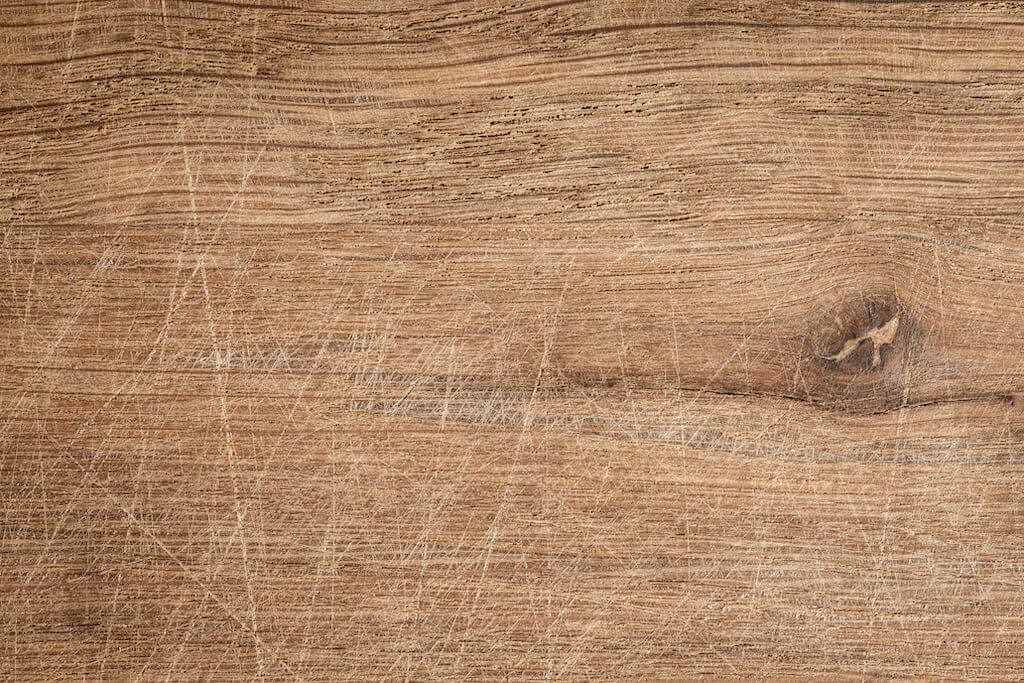
Laminate floors are a popular choice for many homeowners due to their durability and affordability. However, like any other type of flooring, they are prone to scratches over time, especially in high-traffic areas.
Understanding the common causes of laminate floor scratches can help you prevent future damage:
● Foot Traffic: Shoes, especially high heels or shoes with hard soles, can scratch the laminate surface.
- Furniture Movement: Dragging furniture without proper padding can leave noticeable marks.
- Pets: Pet claws can create light to deep scratches.
- Debris and Dirt: Small particles like sand or dirt act like sandpaper when walked on.
Tools and Materials Needed for Scratch Repair
Before you begin repairing scratches on your laminate flooring, gather the necessary tools and materials:
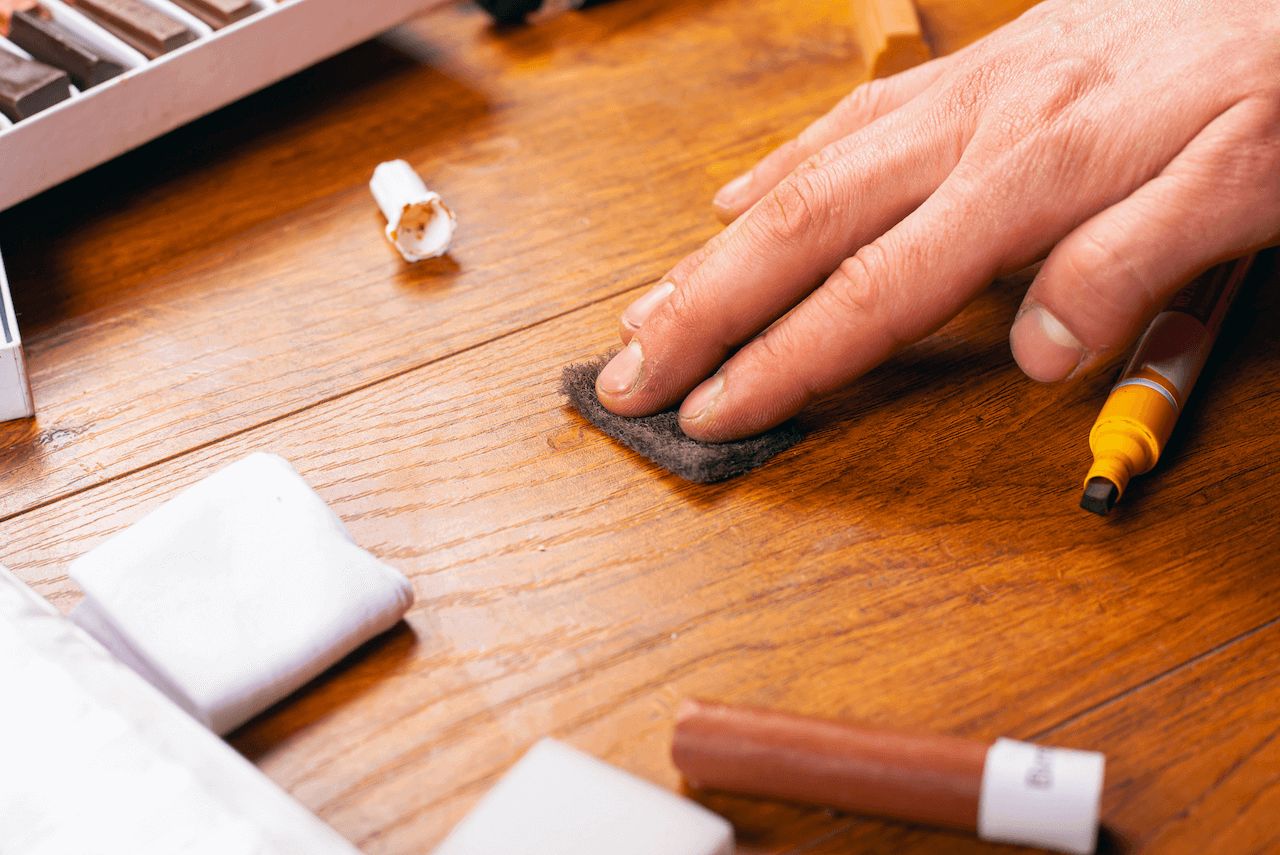
- Laminate Floor Repair Kit: Available at most hardware stores, these kits contain color-matched putty and other essential items.
- Soft Cloths: For cleaning and buffing the floor.
- Rubbing Alcohol: Helps to clean the scratched area before applying the repair compound.
- Putty Knife: Useful for applying repair compound smoothly.
- Laminate Floor Cleaner: Ensures the surface is free from dust and debris before starting the repair.
Step-by-Step Guide to Repairing Scratches on Laminate Flooring
Repairing scratches on laminate flooring can be a straightforward task if approached methodically. Follow these steps for effective results:
1. Clean the Area
Use a soft cloth dampened with rubbing alcohol to clean the scratched area. This removes any dirt or oils that might interfere with the repair compound’s adhesion.
2. Prepare the Repair Compound
Open your laminate floor repair kit and select a color-matched compound. Mix it according to the manufacturer’s instructions if required.
3. Apply the Repair Compound
Use a putty knife to apply a small amount of repair compound directly into the scratch. Spread it evenly across the scratch, ensuring it fills in completely.
4. Smooth the Surface
Wipe away excess compound with a damp cloth while it’s still wet. Ensure that the filled area is level with the surrounding laminate.
5. Buff and Finish
Allow the repair compound to dry as per instructions (usually a few hours). Once dry, gently buff the area with a soft cloth to blend it seamlessly with the rest of your flooring.
6. Optional Protective Coating
Apply a laminate floor sealer over the repaired area for enhanced protection against future scratches.
Examples of Successful Scratch Repairs
Seeing examples of successful repairs can boost confidence in tackling this DIY project:
- A homeowner used a colour-matched wax putty stick from a laminate floor repair kit to fill in multiple minor scratches caused by moving dining chairs.
- Another individual repaired deeper scratches made by pet claws using a combination of putty and protective coating, restoring their floor’s appearance effectively.
Taking these steps not only restores your laminate floor’s look but also prevents further damage, maintaining its longevity and aesthetic appeal.
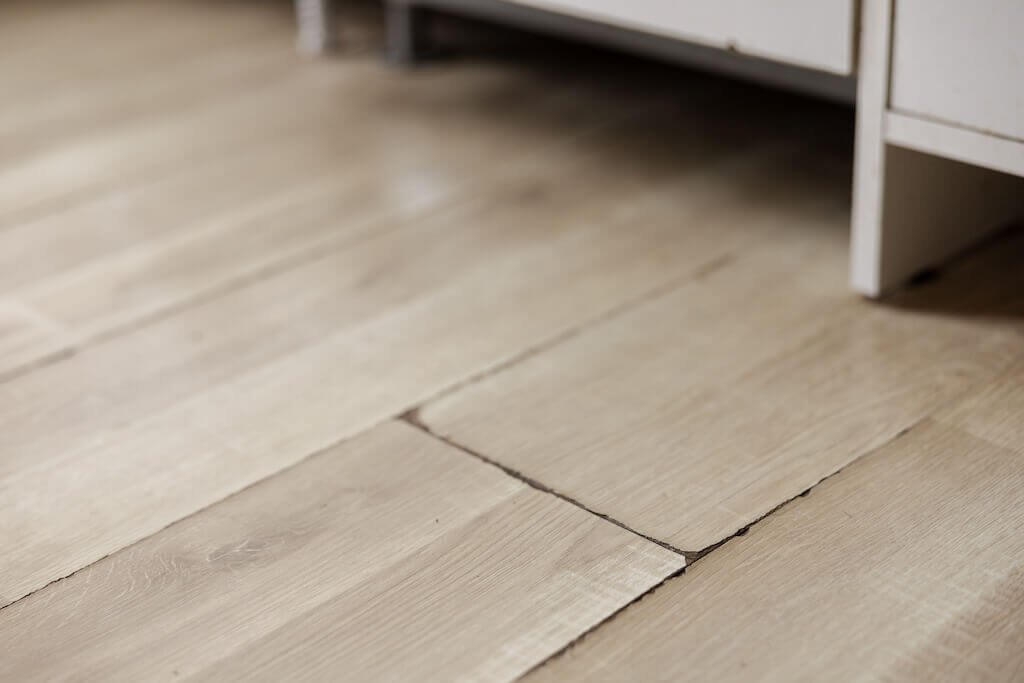
2. Repairing Laminate Flooring Water Damage
Water damage on laminate flooring can occur due to several reasons:
- Spills and Leaks: Accidental spills from liquids like water, soda, or wine can seep into the seams and cause damage.
- High Humidity: Excess moisture in the air can lead to condensation on the floor, which may then penetrate the laminate layers.
- Plumbing Issues: Leaking pipes or faulty appliances such as dishwashers and washing machines can introduce unwanted moisture.
- Improper Installation: Gaps or cracks during installation can allow water to penetrate more easily.
Understanding these causes helps you take preventive measures and address issues before they escalate.
Identifying water damage early can save you time and effort. Look for these signs:
- Swelling or Bubbling: The laminate boards may swell or bubble up due to absorbed moisture.
- Discolouration: Water damage often leads to staining or changes in color, especially around the edges.
- Separation at Seams: Boards may start to pull apart at the seams, creating gaps.
- Warping or Cupping: The planks might warp or cup, causing an uneven surface.
- Recognising these symptoms allows for timely repair, preventing further deterioration.
Addressing water damage involves a methodical approach:
Identify the Source of Moisture:Locate any leaks or sources of high humidity.
Fix plumbing issues or reduce indoor humidity levels with a dehumidifier.
- Remove Affected Areas:Use a utility knife to cut along the damaged board’s seams carefully.
- Gently pry up the damaged planks using a pry bar, taking care not to harm neighboring boards.
- Dry the Subfloor:Ensure that the subfloor is completely dry before proceeding. Use fans or heaters if necessary.
- Inspect for any mold growth and treat it with appropriate cleaners.
- Replace Damaged Boards:Measure and cut replacement laminate boards to fit precisely.
- Lay down a new underlayment if needed for added protection against future moisture.
- Snap-in or glue down the new boards according to manufacturer instructions.
- Seal Joints:Apply a waterproof sealant along the seams of the newly installed boards for added protection against future spills.
- Monitor:Keep an eye on the repaired area over the next few weeks for any signs of recurring issues.
Repairing water-damaged laminate flooring doesn’t have to be daunting. With attention to detail and careful execution, you can restore your floors effectively.
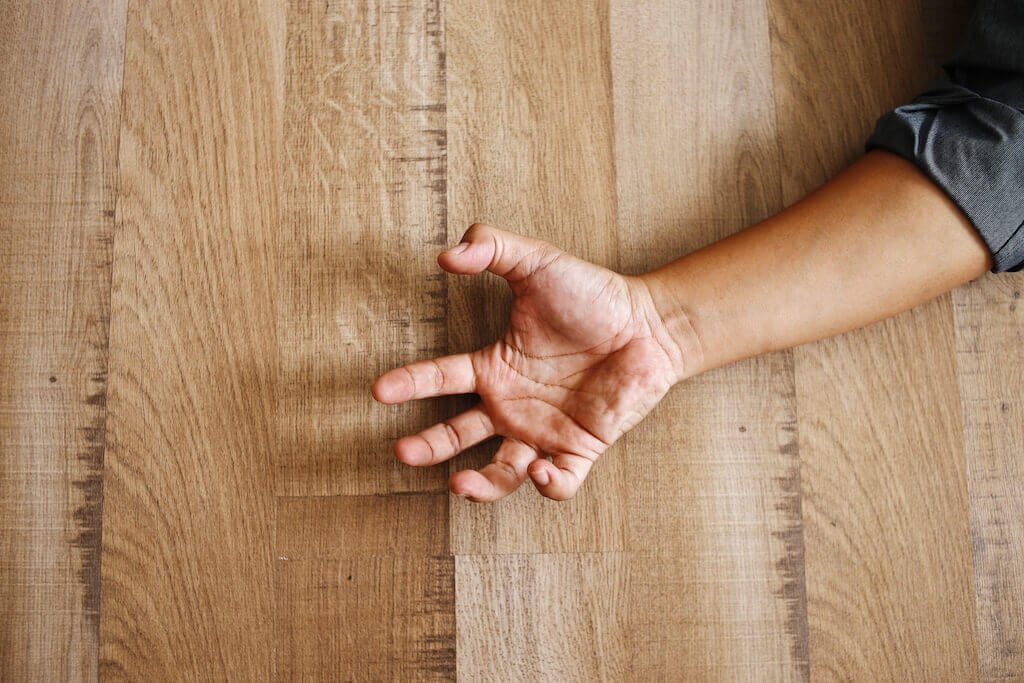
3. Addressing Lifting and Buckling Issues in Laminate Flooring
Maintaining the integrity of your laminate flooring is crucial to preserving its appearance and functionality. Lifting or buckling can disrupt this balance, leading to unsightly and potentially hazardous conditions. Understanding the causes, identifying the problem areas, and applying effective repair techniques are essential steps in addressing these issues.
Causes of Lifting or Buckling in Laminate Flooring
Several factors can contribute to lifting or buckling in laminate flooring:
- Moisture Exposure: Excessive moisture from spills, leaks, or high humidity levels can cause the laminate boards to swell and lift.
- Improper Installation: Incorrect installation techniques, such as insufficient expansion gaps around the room’s perimeter, can restrict natural expansion and contraction.
- Temperature Fluctuations: Extreme changes in temperature can cause the laminate to expand or contract excessively.
- Subfloor Issues: An uneven or unstable subfloor can lead to sections of the laminate flooring becoming loose or buckled.
Identifying and Assessing Lifted or Buckled Areas
Identifying lifted or buckled areas early allows you to address them before they worsen. Look for these signs:
- Visible Gaps: Noticeable gaps between the boards can indicate lifting.
- Raised Edges: Edges of the boards that appear elevated compared to surrounding areas.
- Soft Spots: Sections that feel soft or spongy underfoot may be suffering from underlying issues.
To assess the extent of the damage:
1. Visual Inspection: Check for any irregularities across the floor surface.
2. Tap Test: Gently tap on suspicious areas with a blunt object; hollow sounds often indicate lifting.
3. Measure Gaps: Use a ruler or tape measure to determine the size of visible gaps between boards.
Techniques for Fixing Lifted or Buckled Laminate Flooring
Addressing lifted and buckled laminate flooring involves various repair techniques depending on the severity and underlying cause.
Minor Lifting/Buckling
For minor issues:
- Relieve Pressure:Remove baseboards along the affected wall.
- Check if expansion gaps are sufficient (typically ¼ inch).
- If gaps are too small, trim a bit more off the edge boards using a saw.
- Apply Weight:Place heavy objects like books over the affected area for at least 24 hours.
- Gradually increase weight to encourage boards back into place.
- Severe Lifting/Buckling
For more significant problems:
- Identifying Moisture Source:Locate and eliminate any moisture sources causing swelling.
- Ensure proper ventilation in high-humidity areas.
- Board Replacement:Remove damaged boards by carefully prying them up with a crowbar or flat tool.
- Cut new replacement boards to fit precisely into the gaps.
- Ensure new boards have been acclimated to room temperature for at least 48 hours before installation.
Subfloor Corrections
If subfloor issues are causing lifting:
- Inspect Subfloor:Remove several laminate planks near affected area.
- Examine subfloor for unevenness or instability.
- Level Subfloor:Use a leveling compound on uneven sections of subfloor.
- Replace any damaged subfloor materials before reinstalling laminate planks.
By addressing lifted and buckled areas promptly, you not only restore your floor’s aesthetics but also prevent further damage and potential hazards. Regular maintenance checks help catch early signs of trouble, ensuring your laminate flooring remains beautiful and functional for years to come.
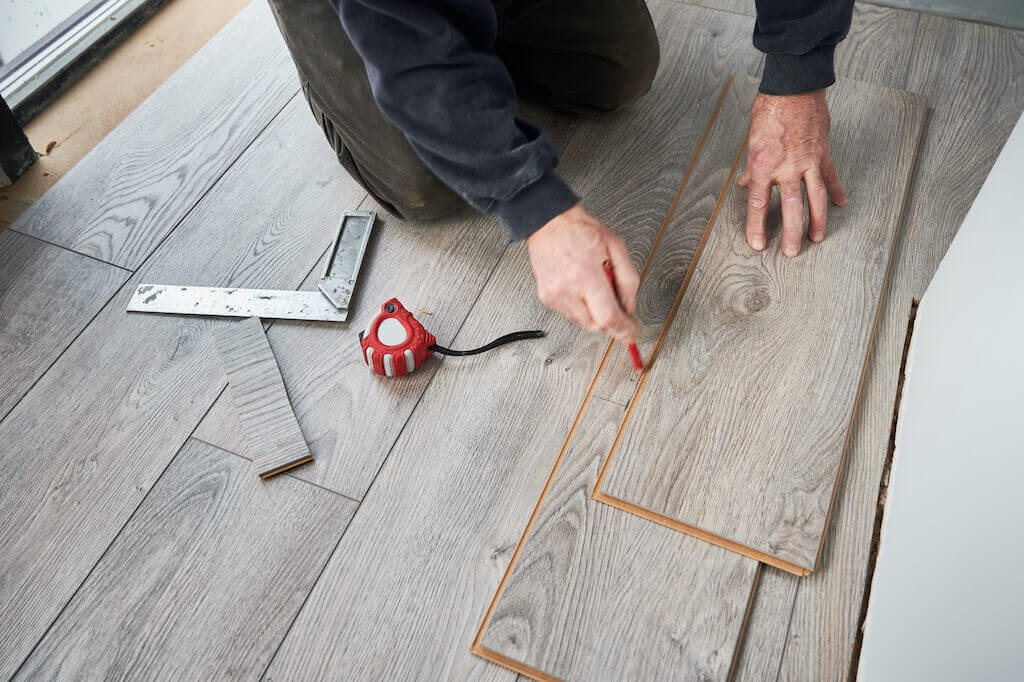
4. Replacing Damaged Laminate Flooring Boards
Damaged laminate flooring can make your space look unattractive and cause more problems if you don’t fix it right away. Whether you have deep scratches, water damage, or warped boards, the best solution is often to replace the ones that are affected.
Reasons for Removing Damaged Laminate Flooring
Here are some reasons why it’s important to remove damaged laminate flooring:
1. Aesthetic Concerns: Deep scratches or gouges in laminate flooring can be unsightly and difficult to repair effectively.
2. Structural Integrity: Water-damaged boards can swell and warp, compromising the structural integrity of the floor.
3. Safety Issues: Warped or lifted boards can create trip hazards, posing a safety risk in your home.
4. Preventing Further Damage: Damaged areas can worsen over time, potentially affecting surrounding boards.
Tools Required for Removing Laminate Flooring with a Saw
Using a saw is an effective way to remove damaged laminate flooring boards. Here’s a list of essential tools:
- Circular Saw or Jigsaw: For cutting through the laminate.
- Hammer and Chisel: To pry up the boards.
- Pry Bar: For lifting and removing the damaged pieces.
- Measuring Tape: To measure replacement boards accurately.
- Replacement Boards: Ensure they match your existing flooring.
- Safety Gear: Safety glasses and gloves to protect yourself during the process.
Step-by-Step Process for Using a Saw to Remove and Replace Laminate Flooring Boards
1. Identify Damaged Boards
- Locate and mark the damaged boards that need to be replaced. Use masking tape or a marker for clarity.
2. Prepare the Area
- Clear any furniture or obstructions from the work area. Ensure you have enough space to maneuver your tools safely.
3. Cut Out the Damaged Board
- Set your circular saw or jigsaw blade depth to match the thickness of your laminate flooring.
- Carefully cut along the marked lines on all sides of the damaged board, ensuring not to cut through any underlayment or subfloor.
4. Remove the Damaged Board
- Use a hammer and chisel to lift one corner of the cut board.
- Insert a pry bar under the board and gently lift it out, taking care not to damage adjacent boards.
5. Clean Up Debris
- Remove any remaining adhesive or debris from the exposed area using a chisel or scraper. Ensure the surface is smooth before proceeding.
6. Measure and Cut Replacement Board
- Measure the dimensions of the removed board using measuring tape.
- Cut a new piece from your replacement laminate board using your saw, ensuring it fits precisely into the gap.
7. Install Replacement Board
- Apply adhesive to the back of the new board if required by your flooring type.
- Place it into position, ensuring it aligns with surrounding boards.
8. Secure Replacement Board
- Tap it gently into place with a rubber mallet if necessary, ensuring a snug fit without gaps.
9. Check Alignment and Finish
- Inspect the newly installed board to ensure it sits flush with adjacent boards.
- Clean any excess adhesive that might have seeped out during installation.
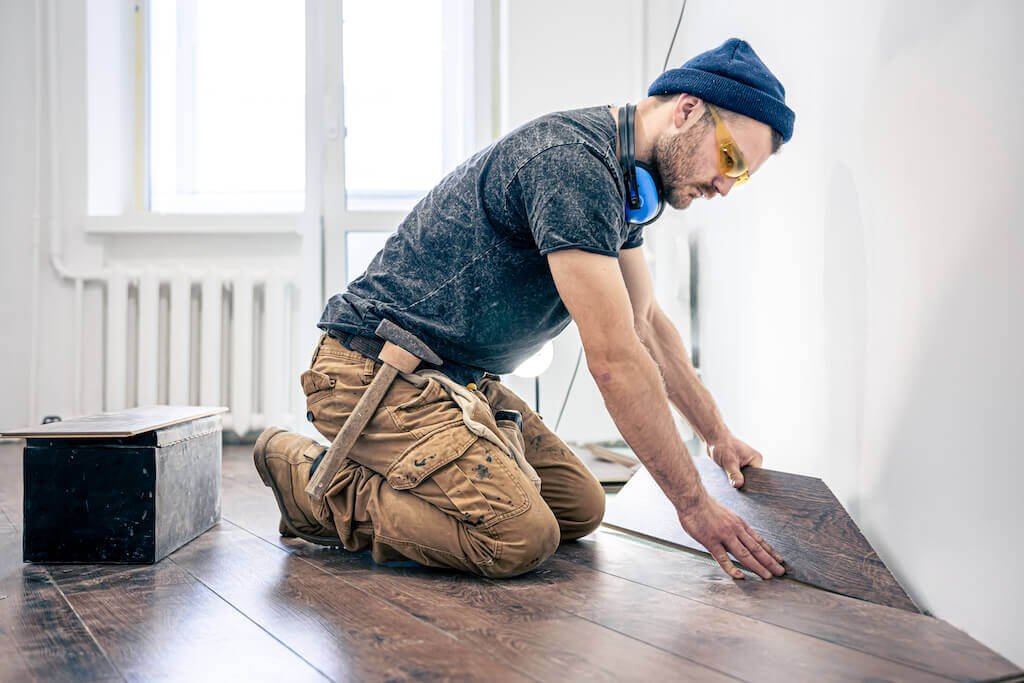
Replacing damaged laminate flooring boards not only restores the look of your floor but also maintains its functionality and safety. With proper tools and careful execution, you can achieve professional-quality results that seamlessly blend with your existing floor.
Conclusion
Maintaining and repairing your laminate flooring regularly is key to preserving its aesthetic appeal and functional integrity. Small issues can escalate into larger problems if neglected, making timely repairs crucial. By addressing scratches, water damage, and lifting or buckling promptly, you ensure that your flooring remains in top condition.
Your space deserves attention and care. With easy laminate floor repair tips, you have the power to transform your environment without the need for extensive professional intervention. Embrace these DIY methods to not only save on costs but also gain a sense of accomplishment.
Regular maintenance: Keep your laminate floors clean and inspect them periodically for any signs of wear or damage.
Timely repairs: Fix minor issues as soon as they arise to prevent them from becoming major headaches.
Take action today. Transform your space with these easy DIY laminate floor repair tips and enjoy the renewed beauty and functionality of your floors.

