Introduction
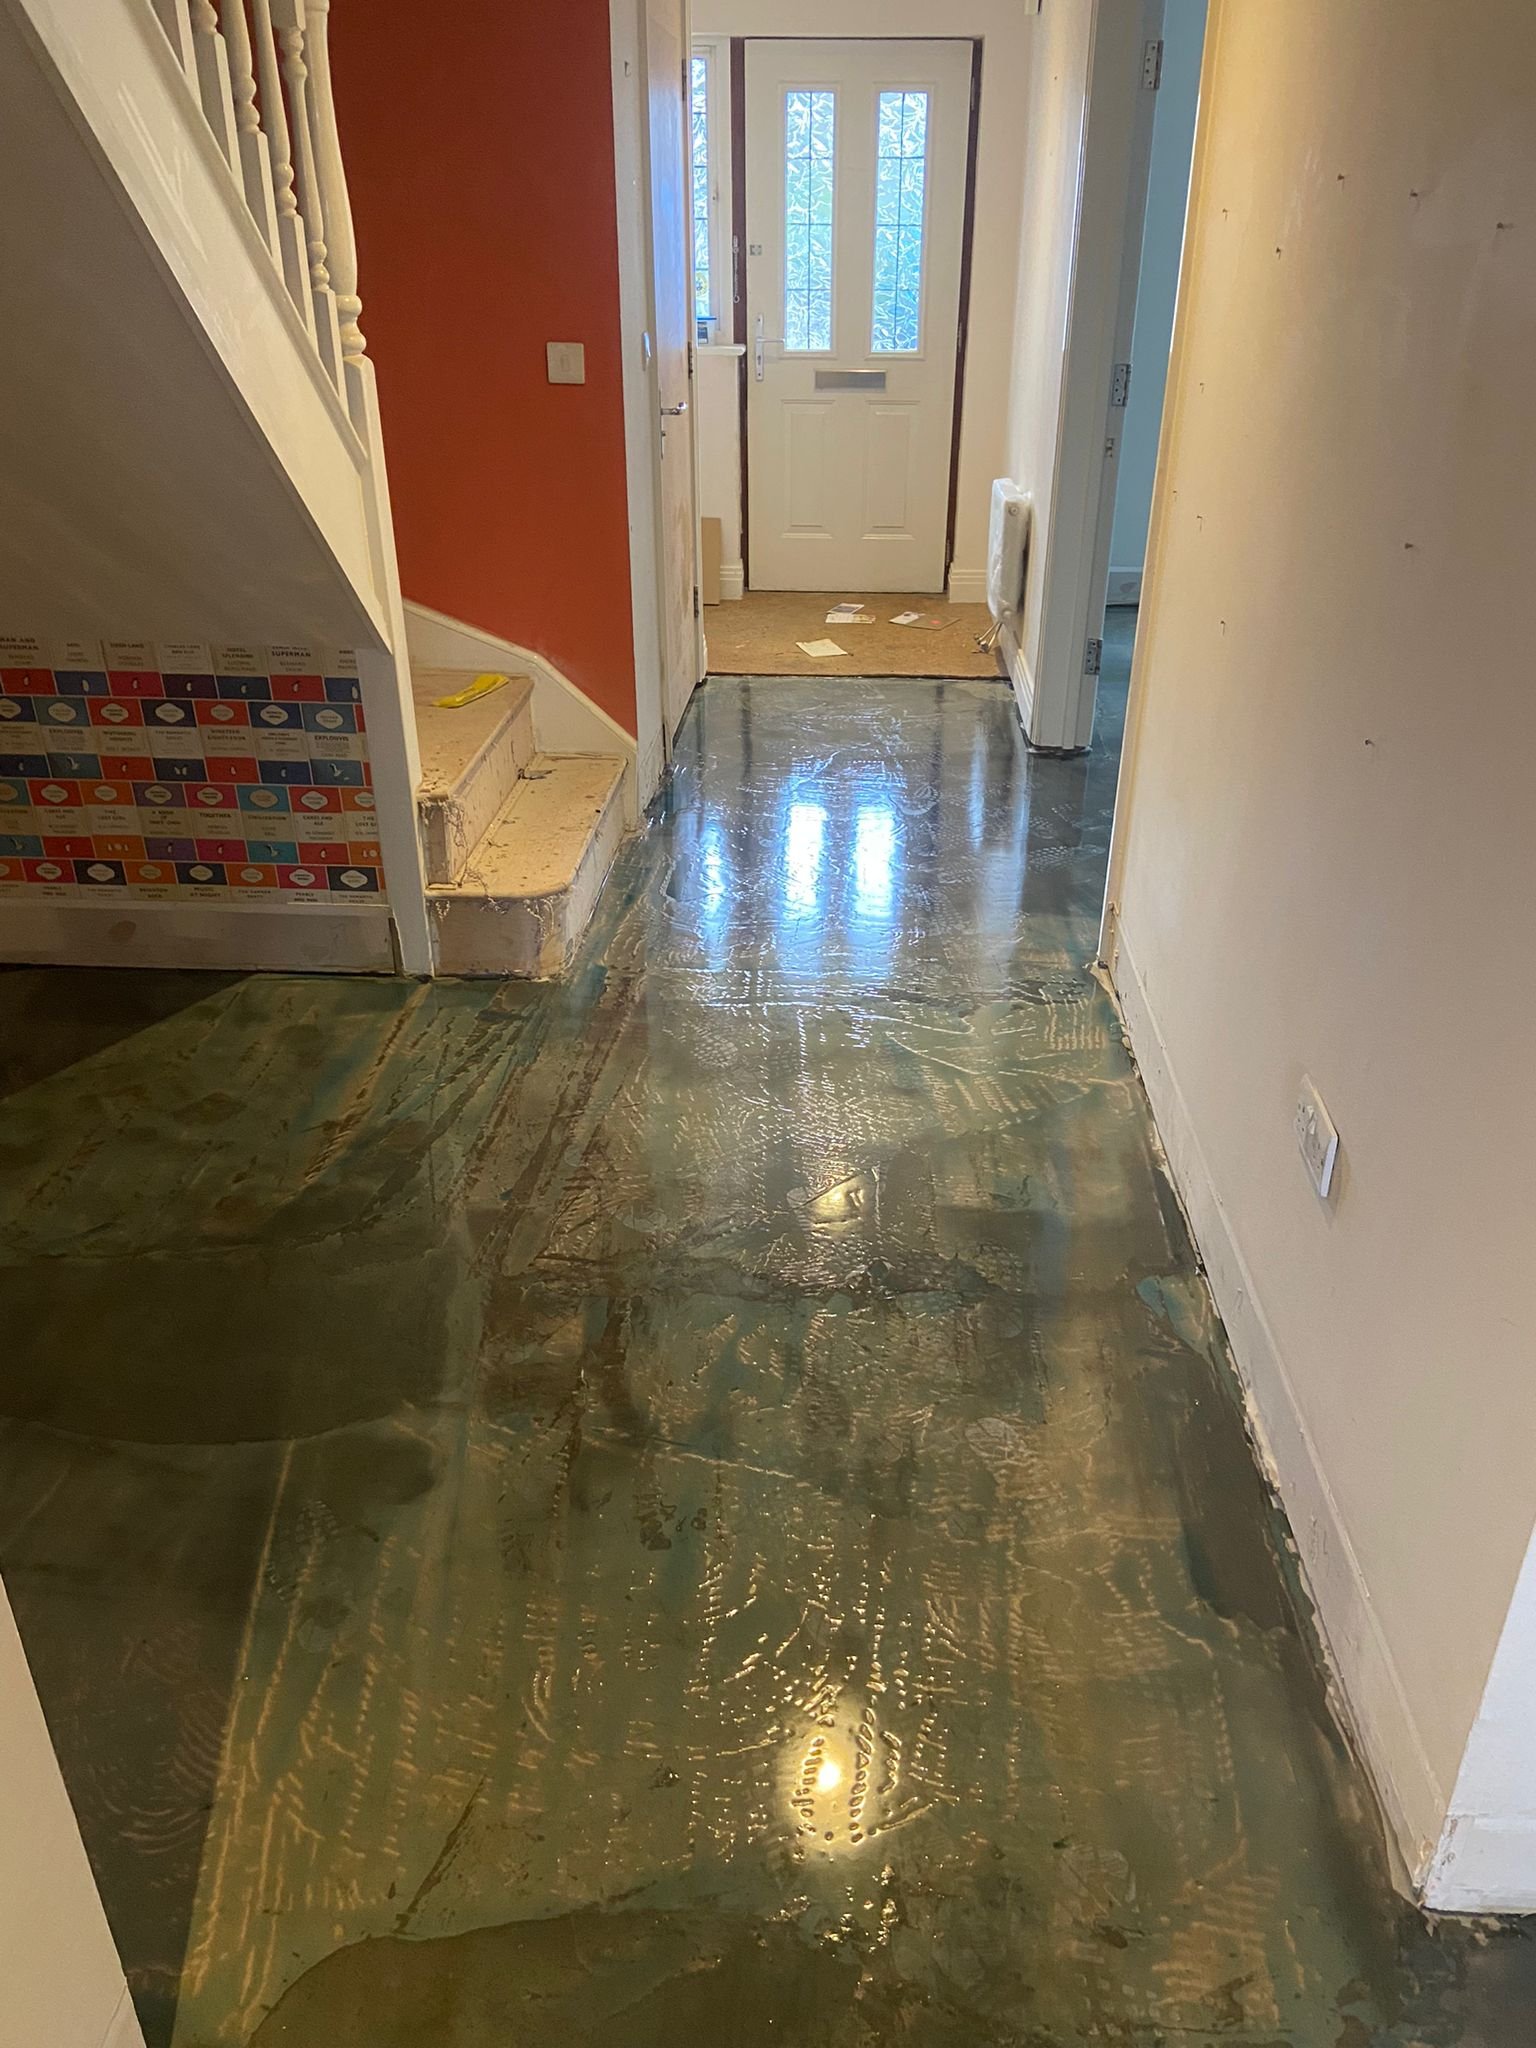
Proper preparation of concrete subfloors is crucial for a successful wood flooring installation. Skipping or inadequately performing this step can lead to a host of problems, including uneven surfaces, moisture issues, and poor adhesion. Ensuring the subfloor is correctly prepared helps in creating a durable and long-lasting wood floor.
Here are the 7 essential steps for preparing concrete subfloors like a pro:
1. Moisture Testing – Determine the moisture content of the subfloor to prevent future damage.
2. High and Low Spot Detection and Leveling – Identify and correct uneven areas for a flat surface.
3. Vapor Barrier Installation – Mitigate moisture issues using appropriate barriers.
4. Surface Preparation and Cleaning – Remove substances that could affect adhesion.
5. Additional Steps for Subfloor Perfection – Implement advanced techniques for optimal results.
Each step plays an integral role in ensuring your wood flooring is installed on a solid foundation.
By following these steps, as advised by leading experts like those at East Sussex Flooring, you can achieve a professional-grade flooring installation that stands the test of time. They have extensive experience in this field and provide valuable insights into the best practices for concrete subfloor preparation and wood flooring installation.
1. Moisture Testing
Ensuring your concrete subfloors are adequately prepared begins with moisture testing. This step is fundamental because excess moisture can lead to significant issues such as warping, mold growth, and adhesive failure.
Concrete subfloors naturally retain moisture from the curing process and surrounding environment. If this moisture isn’t properly measured and managed, it can compromise the integrity of your wood flooring installation. By performing moisture testing, you identify potential problems early and take corrective measures to prevent future damage.
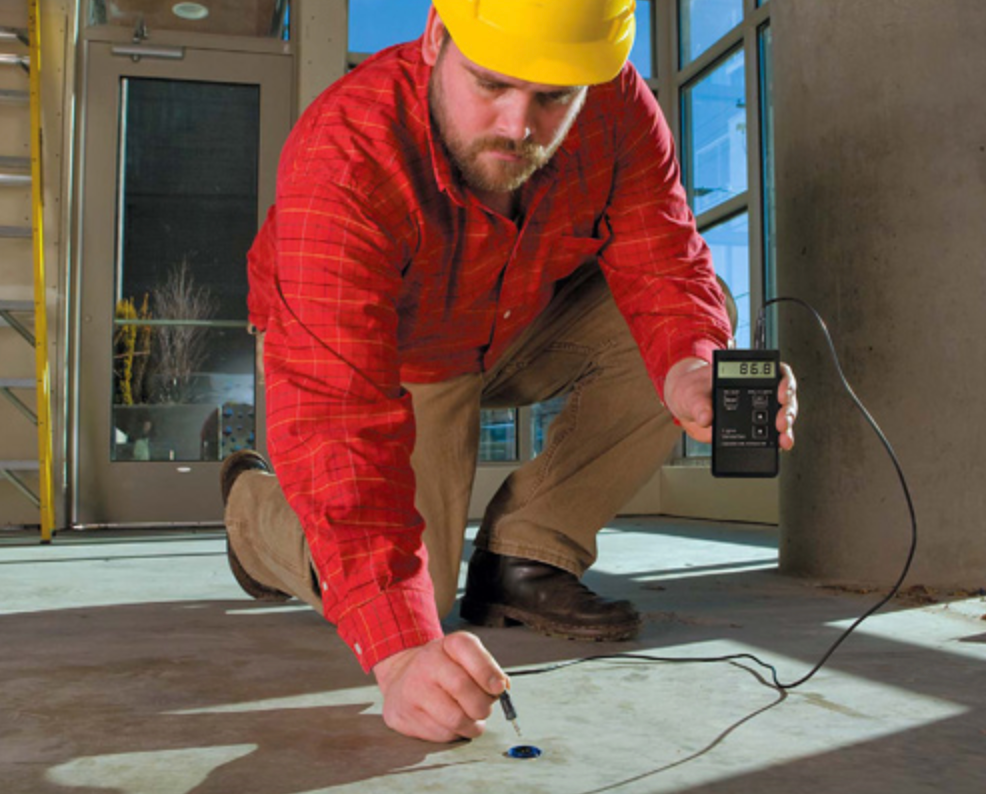
To determine the moisture content of a concrete subfloor, a moisture meter becomes your best tool. Follow these steps for accurate readings:
1. Select the Right Meter: There are two main types: pin-type and pinless meters. Pin-type meters measure electrical resistance between two pins inserted into the subfloor, while pinless meters use electromagnetic signals.
2. Calibrate Your Meter: Refer to the manufacturer’s instructions to ensure your meter is correctly calibrated for concrete.
3. Test Multiple Areas: Conduct tests in several spots across the subfloor to get an average moisture level. Pay special attention to areas near walls and corners where moisture may accumulate.
The American Society for Testing and Materials (ASTM) sets standards for acceptable moisture levels in concrete subfloors. According to ASTM F2170, the relative humidity (RH) within a concrete slab should not exceed 75% for most wood flooring installations. By adhering to these standards, you ensure that your subfloor meets industry benchmarks for safety and performance.
Understanding these guidelines helps you maintain quality control throughout your project, especially when hiring professional contractors who offer expert flooring installation services. Ignoring them can lead to costly repairs and unsatisfactory results.
Incorporating these methods ensures that you’re starting with a solid foundation, ready for the next steps in preparing your subfloor like a pro.
2. High and Low Spot Detection and Leveling
Identifying and measuring high and low spots on a concrete subfloor is essential for a smooth and even wood flooring installation. Uneven surfaces can lead to issues such as gaps, squeaks, and premature wear of the flooring material. To identify these spots, you can use various tools:
● Straightedge: Place a long straightedge (typically 6-10 feet) across different sections of the floor. This will help you identify any deviations in the surface.
● Laser Level: For more precision, a laser level can project lines across the floor, highlighting high and low areas.
● Flooring Leveling Apps: Some professionals use specialized apps that work with laser levels to map out the subfloor’s topography.
Once you’ve identified the problem areas, the next step is leveling the surface. There are several techniques to achieve this:
● Patching Compound: Useful for filling in small low spots. It’s easy to apply with a trowel and dries quickly.
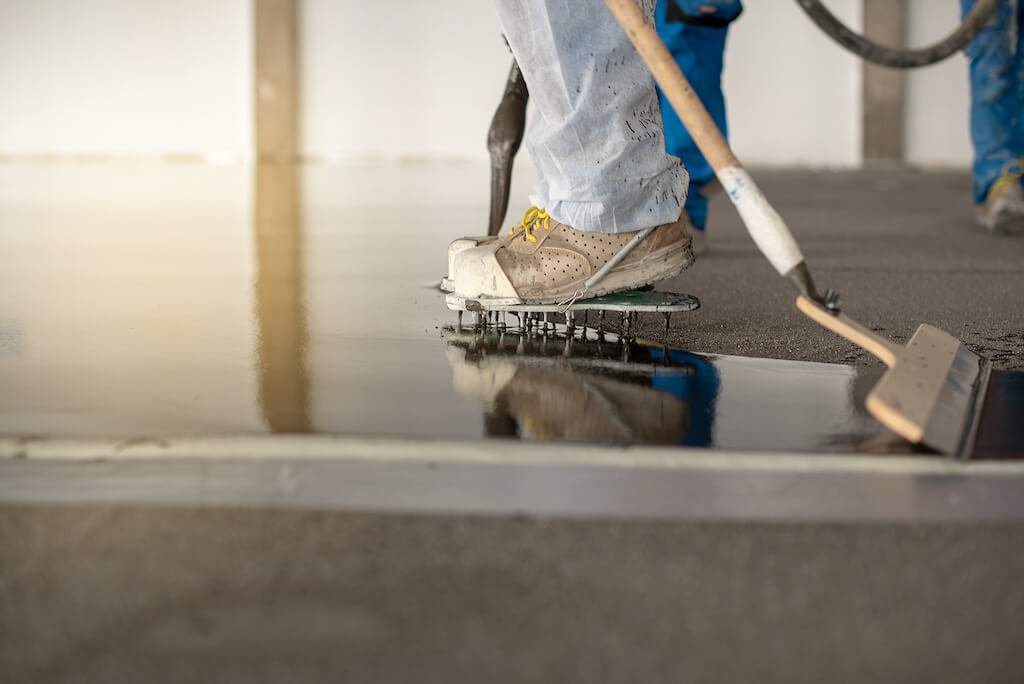
● Self-Leveling Products: These are ideal for larger areas or multiple dips in the floor. They spread out evenly across the surface, creating a smooth and uniform layer.
● Grinding: High spots can be reduced using grinders. This method ensures that raised areas are brought down to match the rest of the floor.
Understanding flatness tolerance is crucial. The National Wood Flooring Association (NWFA) recommends that concrete subfloors should not vary more than 3/16 of an inch over a 10-foot radius or 1/8 of an inch over a 6-foot radius. Adhering to these tolerances ensures your wood flooring will lay flat without future issues.
For more tips on achieving a perfect finish, you might find this resource on custom wood flooring finishes useful.
In case you need professional assistance or have specific questions about your project, don’t hesitate to contact us. If you would like to learn more about our expertise in crafting unique spaces and expert techniques for custom wood flooring finishes, feel free to check out our website.
3. Vapor Barrier Installation
Installing a vapor barrier is a critical step in preventing moisture problems with concrete subfloors. Concrete naturally releases moisture, which can damage wood flooring if not controlled properly. A vapor barrier, also known as a vapor retarder, acts as a shield, stopping moisture from entering the wood flooring.
Importance of Vapour Barriers
Vapour barriers have several important functions:
● Moisture Control: They stop water vapor from moving from the concrete subfloor to the wood flooring.
● Longevity: By managing moisture levels, vapor barriers help prolong the life of your flooring.
● Protection: They reduce the risk of issues like warping, cupping, or mold growth caused by excessive moisture.
Guidelines from NWFA
The National Wood Flooring Association (NWFA) provides clear guidelines on how to choose and install vapor barriers effectively:
1. Choosing the Right Material: Select a material that meets NWFA standards. Common choices include polyethylene sheets or liquid-applied membranes.
2. Checking Thickness: Make sure the vapor barrier is thick enough. The NWFA usually recommends a minimum thickness of 6 mils for polyethylene sheets.
3. Proper Installation:
● Preparing the Subfloor: Clean and dry the concrete subfloor thoroughly before installing the vapor barrier.
● Ensuring Overlap: When placing sheets, overlap the edges by at least 6 inches and seal them tightly with appropriate tape for continuous coverage.
● Sealing Seams and Edges: Seal all seams and edges against walls to create a barrier that moisture cannot penetrate.
For more expert advice on getting subfloors ready, including specialized subfloor preparation services for a solid foundation, you may find this resource helpful.
A well-installed vapor barrier keeps your wood flooring safe from moisture problems below. It’s important to follow these steps carefully for professional outcomes.
Visit East Sussex Flooring for tips on getting high-quality flooring solutions on a budget.
4. Surface Preparation and Cleaning
Following Adhesive Manufacturer’s Recommendations
Adhering to the adhesive manufacturer’s recommendations during surface preparation is crucial. These guidelines are designed to ensure optimal adhesion and longevity of your wood flooring. Neglecting these instructions can result in bonding failures, leading to costly repairs.
Removing Non-Compatible Substances
Non-compatible substances such as sealers, waxes, oil, or paint can severely impact the adhesion of wood flooring. To remove these substances:
● Sealers: Use a floor grinder to mechanically remove sealers from the concrete surface.
● Waxes and Oils: Apply a suitable chemical stripper, followed by thorough rinsing with clean water.
● Paint: Scrape off loose paint, then use a paint remover or grinder for any remaining residue.
These steps help in creating a clean and porous surface for better adhesive bonding.
Cleaning and Degreasing the Concrete Subfloor
Ensuring the concrete subfloor is clean and free from grease is another critical step. Here are some effective methods:
1. Sweeping and Vacuuming: Start by sweeping up dust and debris, then use a vacuum to remove finer particles.
2. Mopping with a pH-neutral cleaner: Use a pH-neutral cleaner to mop the floor, eliminating dirt and grime without leaving any harmful residues.
3. Degreasing Solutions: For stubborn grease stains, apply a degreasing solution specifically formulated for concrete floors. Follow up with a thorough rinse to ensure no cleaning agents remain on the surface.
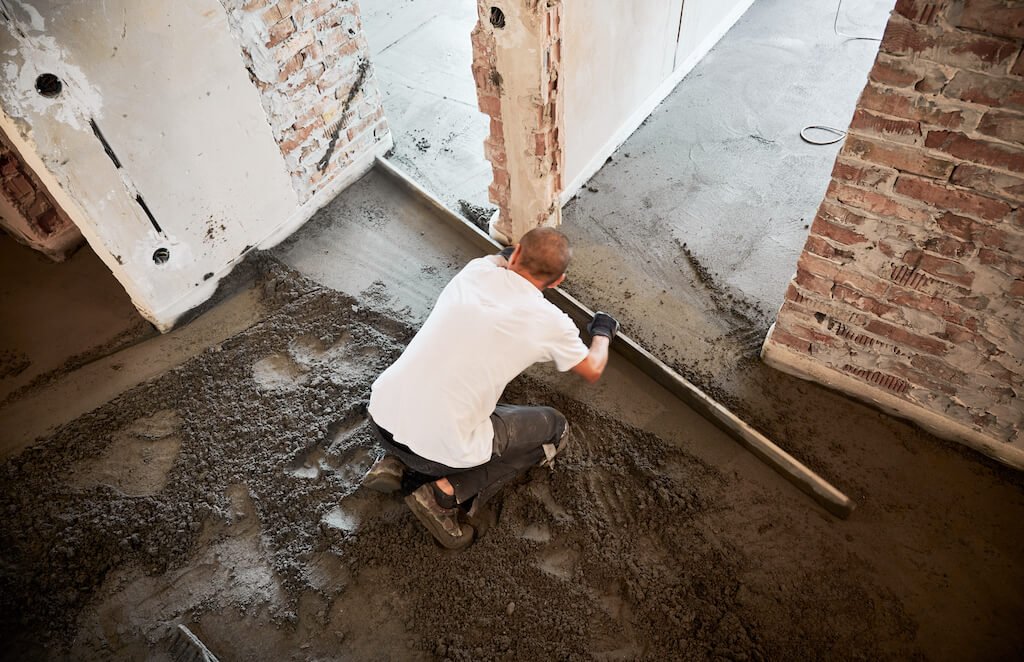
A well-prepared subfloor is essential for successful installation. Proper cleaning ensures that adhesives bond effectively, preventing future issues like lifting or warped wood. However, it’s important to note that smoothing and leveling subfloors in East Sussex is equally crucial. Therefore, before proceeding with the aforementioned cleaning steps, it’s recommended to address any unevenness or imperfections in the subfloor to achieve a flawless wood flooring installation.
These preparations set the foundation for installing your wood flooring efficiently and professionally.
5. Additional Steps for Subfloor Perfection
Different moisture testing methods can provide varied insights into the condition of your concrete subfloor. One alternative approach is calcium chloride testing. This method measures the moisture vapor emission rate (MVER) from the concrete slab. Although it’s a reliable method, it requires a longer waiting period (usually 60-72 hours) compared to other techniques. The pros include its accuracy and ability to provide a clear picture of moisture levels over time. However, its cons are the extended time requirement and the need for specialized equipment.
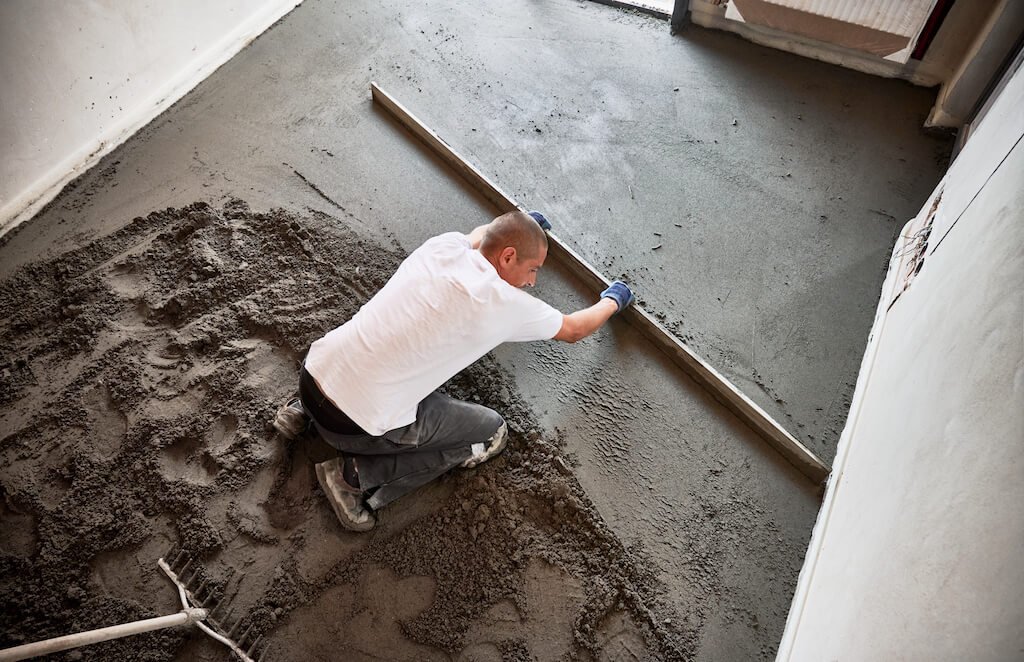
Ensuring Flatness with Grinding and Floor Levelers
Achieving flatness in concrete subfloors is crucial for a successful wood flooring installation. Methods for leveling include:
● Grinding: Ideal for high spots, grinding uses a concrete grinder to smooth out uneven surfaces.
● Floor Levelers: These are self-leveling compounds that fill low areas to create an even surface.
Both methods ensure the subfloor meets flatness tolerance standards, which are critical for preventing issues during installation.
Installing a Damp Proof Membrane (DPM)
In addition to moisture testing and leveling, installing a damp proof membrane (DPM) provides an extra layer of protection against vapor emission. A DPM helps prevent moisture from seeping up from the subfloor and affecting your wood flooring. The installation process involves:
1. Cleaning the Subfloor: Ensure the surface is clean and free of debris.
2. Applying Primer: Use a primer designed for use with damp proof membranes.
3. Installing the Membrane: Roll out the DPM, ensuring it covers the entire surface, with overlaps at seams.
4. Sealing Seams: Use adhesive tape or another sealing method to secure seams and edges.
Implementing these additional steps ensures your concrete subfloor is perfectly prepared, mitigating potential issues and contributing to the longevity of your wood flooring installation.
Final Thoughts
Preparing concrete subfloors is crucial for ensuring the strength and durability of your wood flooring installation. Skipping or rushing through any of these steps can cause problems like uneven surfaces, moisture damage, and weak adhesion, which will ultimately affect the quality of your flooring.
Following these 7 important steps will give you a professional outcome:
1. Moisture Testing – Check if the concrete subfloor has an acceptable moisture level.
2. Detecting and Leveling High/Low Spots – Make sure the surface is flat for installation.
3. Installing a Vapor Barrier – Protect against moisture-related issues.
4. Preparing and Cleaning the Surface – Ensure good adhesion for wood flooring.
5. Taking Extra Measures for Subfloor Perfection – Improve protection and flatness.
By carefully following these instructions, you’ll not only improve the performance of your flooring but also extend its lifespan. Proper preparation lays the groundwork for success, making each subsequent step in your project more efficient and effective. Embrace these methods to achieve professional-quality results in your wood flooring projects.

